One of the most common questions when preparing smoked fish is how long can you leave fish in brine before smoking. Getting this timing right is crucial to achieving a flavorful, moist, and perfectly smoked result
When preparing fish for smoking, one of the most important questions is, how long can you leave fish in brine before smoking? Understanding this can help you avoid common mistakes and ensure your fish is flavorful and tender.
Understanding Fish Brining for Smoking
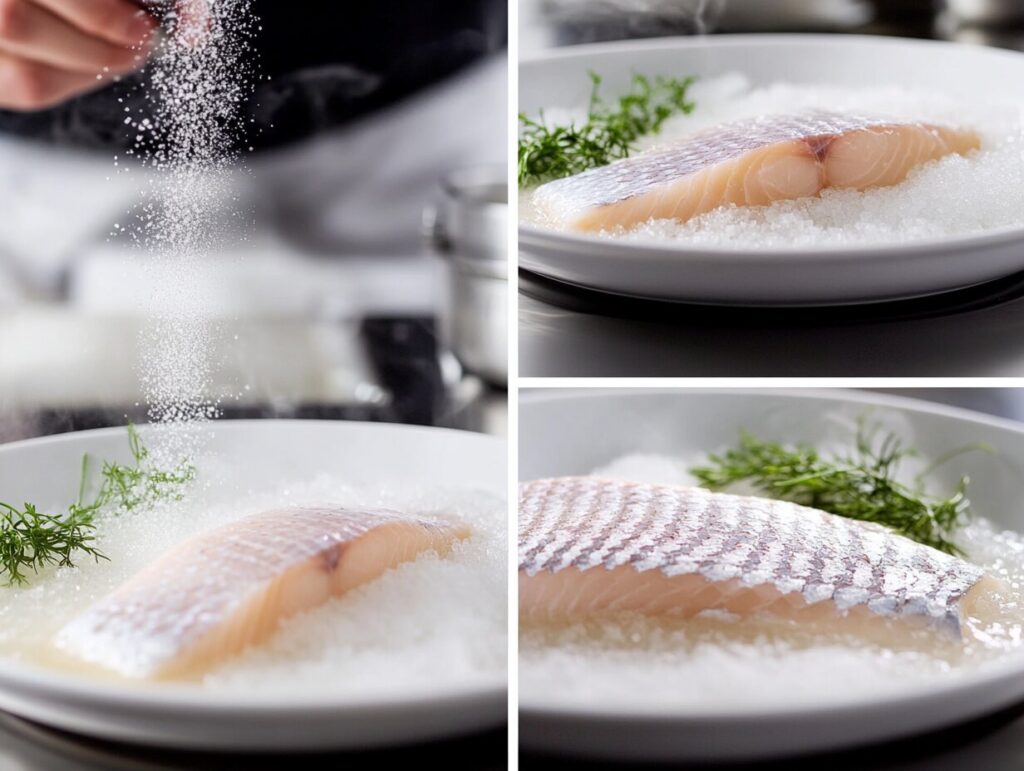
What is brining, and why does it matter? Well, brining is like giving your fish a spa day—soaking it in a salty solution that tenderizes and infuses flavor. This process isn’t just for taste; it’s about science. Salt denatures proteins, which helps the fish retain moisture and enhances its texture during smoking. No one wants a dry, bland piece of fish, right?
What Is Brining and Why Is It Important?
Imagine biting into a piece of fish that’s dry and flavorless. Yikes, not fun. That’s where brining comes in. It helps the fish hold onto its natural juices, making it moist and flavorful when smoked. The salt in the brine also acts as a preservative, keeping bacteria at bay while your fish soaks.
Brining also allows you to play around with flavors. Want a hint of sweetness? Add some brown sugar. Love a citrus kick? Toss in some lemon zest. The possibilities are endless, and trust me, experimenting with brines is half the fun. 🎣
The Science Behind Brining Fish
Let’s geek out for a moment. When fish sits in a brine, the salt draws out moisture through osmosis. Then, as the proteins in the fish denature, they bond with water molecules, essentially locking in the moisture. This ensures that even after hours in a smoker, your fish stays tender and juicy.
But it’s not just about moisture. The flavors in the brine penetrate the fish, giving it that extra oomph that makes smoked fish so addictive. Ever notice how smoked fish tastes salty but balanced? That’s the magic of brining.
Preparing Fish for Brining

Now that you understand the “why” of brining, let’s move on to the “how.” Preparing your fish correctly before it hits the brine is crucial. Think of this step as laying the groundwork for an epic meal.
Choosing the Right Type of Fish
Not all fish are created equal when it comes to smoking. Some hold up better under the brine-and-smoke treatment than others. Oily fish like salmon, trout, and mackerel are perfect for smoking because their natural fats complement the smoky flavors. Leaner fish like cod or haddock can also be brined and smoked, but you’ll need to pay extra attention to the brine time to avoid drying them out.
Cleaning and Prepping Fish for Brining
First things first, clean your fish thoroughly. Remove any scales, bones, or guts (if you’re dealing with whole fish). You want a clean slate to work with. If you’re using fillets, make sure they’re of even thickness. This ensures the brine penetrates evenly, and your fish smokes at the same rate.
Here’s a quick tip: pat your fish dry before placing it in the brine. Why? Excess water can dilute the brine, and we don’t want that. Trust me, a little attention to detail goes a long way here.
Selecting the Right Brining Ingredients
Think of your brine as a marinade on steroids. The base is always water and salt, but from there, you can get creative. Want a sweeter profile? Add honey or maple syrup. Looking for a savory kick? Toss in some garlic, peppercorns, or herbs.
Here’s a basic brine recipe to get you started:
- Water: 4 cups
- Salt: 1/4 cup
- Brown Sugar: 1/4 cup
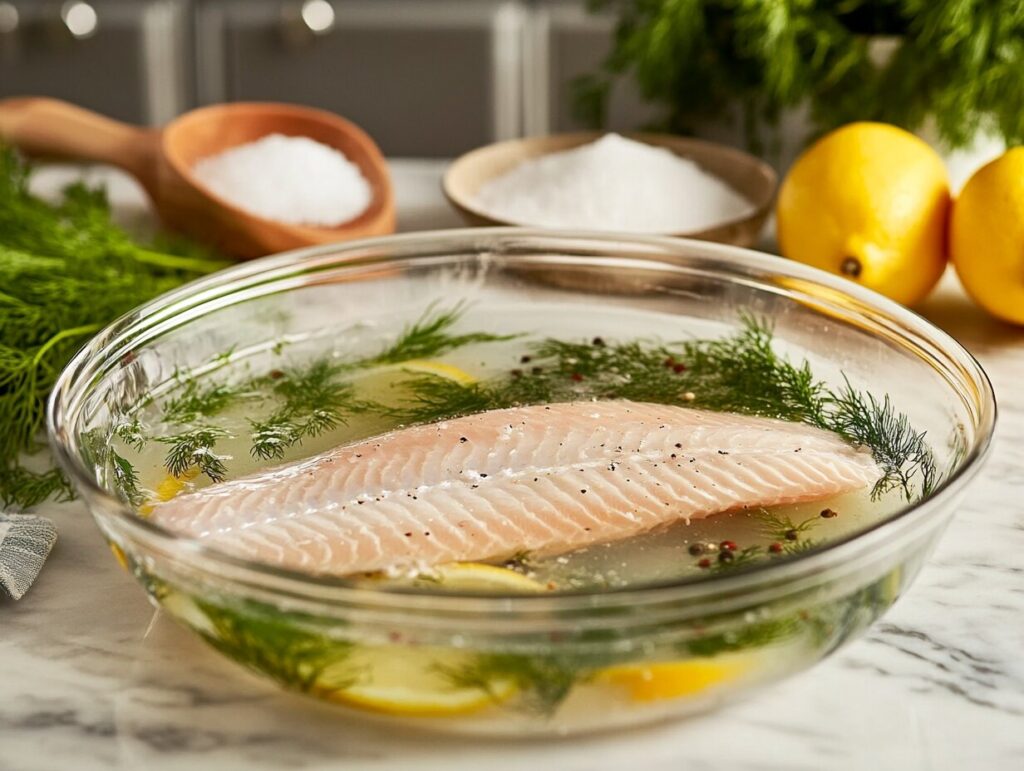
- Optional Add-ins: Lemon slices, dill, garlic cloves
Mix everything until the salt and sugar dissolve. And don’t be afraid to taste your brine—it should be salty but balanced. If it tastes good on its own, it’ll do wonders for your fish.
How Long Can You Leave Fish in Brine Before Smoking?
This is the million-dollar question, isn’t it? How long is too long? The general rule of thumb is anywhere from 30 minutes to 8 hours, depending on the type of fish and brine concentration. But let’s break it down a bit more.
Ideal Brining Times for Different Types of Fish
- Salmon: 4–8 hours (its thickness and oiliness make it perfect for longer brining times)
- Trout: 2–4 hours (a thinner fillet means less time is needed)
- Mackerel: 2–4 hours (its strong flavor pairs beautifully with a shorter brine)
- Cod/Haddock: 30 minutes to 1 hour (lean fish can get over-brined quickly)
Keep in mind that these times are guidelines. If you like a saltier or more robust flavor, you can extend the brine time slightly.
The Risks of Over-Brining Fish
Yes, there is such a thing as too much of a good thing. Leave your fish in the brine too long, and it can turn overly salty and mushy. Yuck! Over-brined fish not only loses its natural texture but can also overpower the smoky flavor you’re aiming for.
Signs That Fish Has Been Over-Brined
How can you tell if you’ve gone overboard? Over-brined fish will feel slimy to the touch and might break apart too easily. Taste is another giveaway—if it’s overwhelmingly salty, you’ve left it in too long. Don’t worry, though! Mistakes happen, and each one is a learning opportunityFor more inspiration, check out our Ultimate Guide to Smoked Yellowfin Tuna Recipe, which shares insights into smoking techniques.
Adjusting Brining Time Based on Conditions
Brining isn’t a one-size-fits-all process—it’s more like a balancing act. Factors like salt concentration, temperature, and the type of fish all play a role in determining how long your fish should soak. Let’s unpack these nuances so you can tweak your brining process to perfection.
Brining Time and Salt Concentration
Here’s a golden rule: the saltier your brine, the shorter the brining time. Why? Salt is potent, and if the concentration is too high, it can overpower the fish or even “cook” it, similar to how ceviche works.
For a standard brine, stick to about 1/4 cup of salt per quart of water. If you want a milder brine, reduce the salt. On the flip side, if you’re in a hurry, you can use a stronger brine but shorten the soaking time.
Quick Tip: Test your brine by tasting it. It should be salty but not overwhelmingly so—like seawater on a sunny beach day.
Temperature and Its Effect on Brining Time
Did you know that temperature can dramatically affect how long you can leave fish in brine before smoking? The colder the brine, the slower the fish absorbs salt and flavors. Ideally, keep your brine between 35°F and 40°F (just above freezing) to ensure safe and effective brining.
If your brine is too warm, bacteria can grow, and the fish may spoil before smoking. Monitoring the temperature is crucial to achieving the perfect balance, ensuring you get the most out of your brining process
Step-by-Step Guide to Brining Fish for Smoking

Now that we’ve covered the science and variables, let’s get our hands dirty! Here’s a step-by-step guide to ensure your fish is brined like a pro every time.
Preparing the Brine Solution
- Gather Ingredients: Start with water, salt, and sugar as your base. Add herbs, spices, or aromatics depending on the flavor profile you want.
- Dissolve the Salt and Sugar: Heat a small portion of the water and stir in the salt and sugar until fully dissolved. Then, add cold water to bring the mixture to the desired volume and temperature.
- Cool the Brine: Always let your brine cool completely before adding fish. A warm brine can partially cook the fish, and we don’t want that—save the cooking for the smoker!
Immersing Fish in the Brine
Place your fish in a non-reactive container (like glass or plastic). Pour the brine over the fish until it’s fully submerged. If your fish floats, weigh it down with a small plate or a resealable plastic bag filled with water.
Ensure that the brine reaches every part of the fish, especially if you’re working with whole fish. Even coverage is key to consistent flavor.
Storing Brining Fish Safely
Store the brining fish in the fridge or a well-chilled cooler. Keep an eye on the time—set a timer or reminder so you don’t accidentally over-brine.
If you’re using a cooler, add plenty of ice to maintain a consistent temperature. A floating thermometer can be a lifesaver here, helping you monitor the temperature without guessing.
This article on “Should I Brine My Salmon Before I Smoke It?” will help you understand the topic better.
Common Problems and Solutions in Fish Brining
No matter how much planning goes into it, things don’t always go smoothly. But hey, that’s part of the learning curve! Let’s tackle some common brining mishaps and how to fix them.
Fish Tasting Too Salty After Brining
Over-brined fish can taste like you’re eating a salt lick. Not ideal, right? If this happens, there’s a simple fix: soak the fish in fresh water for 10–15 minutes. This process, called desalting, helps draw out excess salt.
To avoid this problem in the future, start with a shorter brining time or use a less concentrated brine. Remember, you can always add more salt later, but you can’t take it away once it’s in there.
Fish Not Absorbing Enough Flavor
Sometimes, your fish might come out of the brine tasting, well, underwhelming. This often happens if the brine is too weak or the soaking time is too short.
The fix? Experiment with stronger flavors in your brine or increase the soaking time slightly. Adding spices, herbs, or even a splash of soy sauce or vinegar can amp up the flavor.
Ensuring Food Safety During Brining
Nobody wants to deal with foodborne illness, so let’s talk safety. Always keep your brine and fish cold to prevent bacteria from thriving. If you notice any strange odors or textures, err on the side of caution and discard the fish.
Smoking the Brined Fish

With your fish perfectly brined, it’s time for the grand finale: smoking. But before you rush to fire up your smoker, there are a few crucial steps to take.
Drying the Fish Before Smoking
Once you’ve removed the fish from the brine, give it a quick rinse under cold water to remove any excess salt or spices. Then, pat it dry with paper towels.
Here’s the secret: let the fish air-dry for at least an hour before smoking. This helps form a sticky layer called the pellicle, which allows the smoke to cling better to the fish. Without it, you’re missing out on that signature smoky flavor.
Smoking Techniques for Brined Fish
The type of smoker you use—electric, charcoal, or wood-burning—will influence the final flavor. But the basics remain the same:
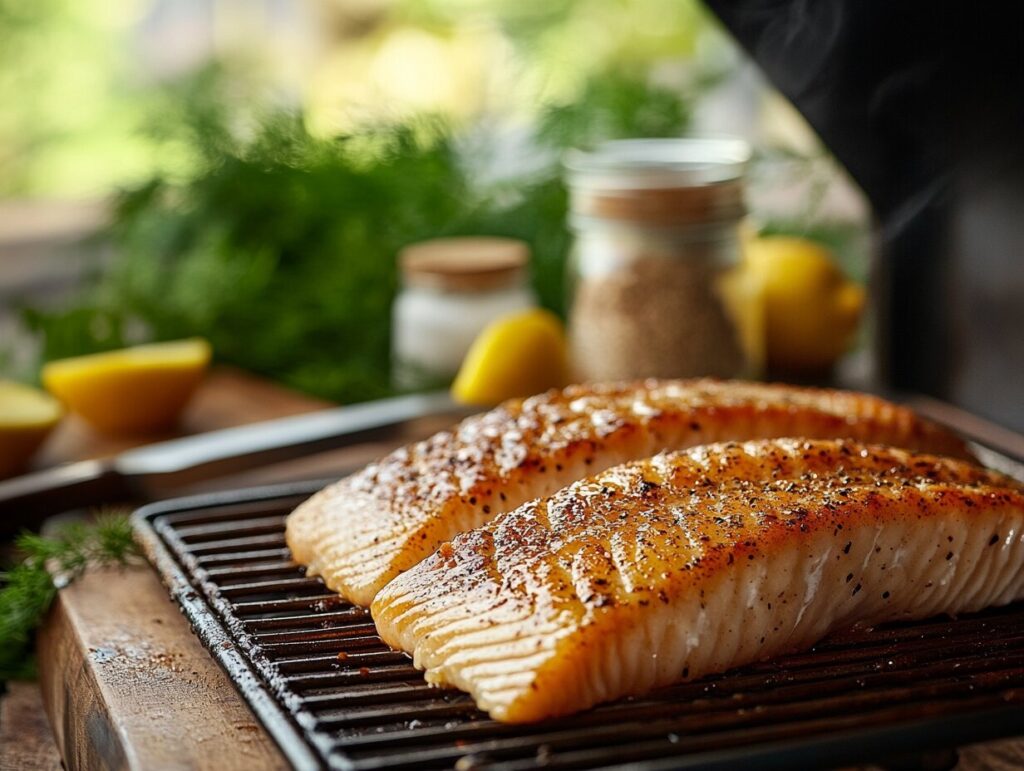
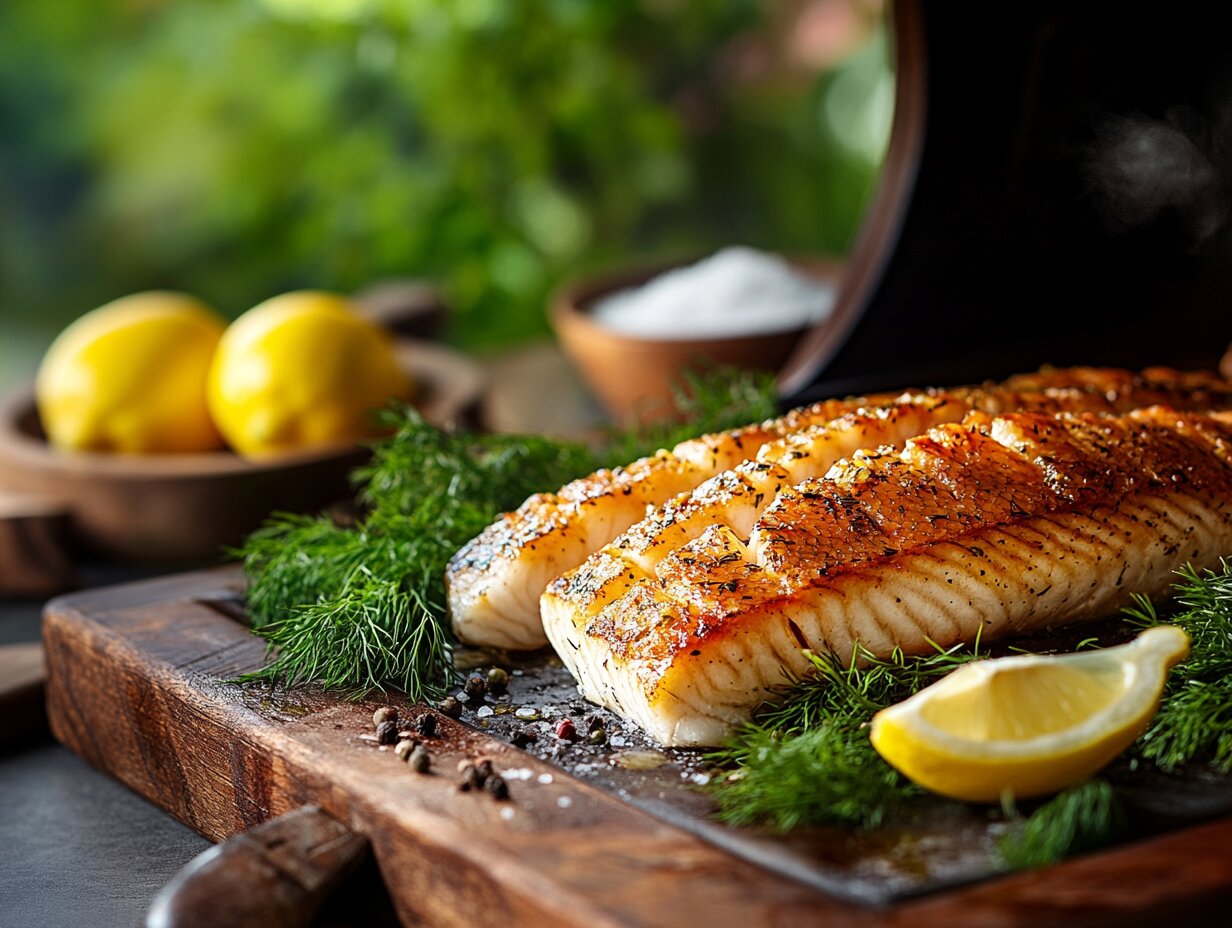
- Low and Slow: Smoke your fish at a low temperature (around 180°F) until it reaches an internal temperature of 145°F.
- Choose Your Wood Wisely: Alder, applewood, and cherrywood are popular choices for fish because of their mild, sweet smoke. Avoid strong woods like mesquite, which can overpower the delicate fish flavors.
Expert Tips for Perfectly Brined and Smoked Fish
You’ve mastered the basics, but if you’re hungry for more (pun intended), here are some pro tips to elevate your brining and smoking game.
Choosing the Best Wood Chips for Smoking
Different woods create different smoke flavors. For a mild, slightly sweet flavor, go for alder or applewood. If you’re feeling adventurous, hickory adds a bolder profile that pairs beautifully with salmon.
Pairing Brine Flavors with Smoke Profiles
Think of brine and smoke as a culinary duet. A citrusy brine pairs well with applewood, while a garlicky, herb-infused brine shines with alder. Mix and match until you find your signature combination.
FAQs About Brining Fish Before Smoking
When it comes to brining and smoking fish, even seasoned cooks can have questions. Let’s tackle some of the most common ones to ensure your next batch of smoked fish is absolutely perfect.
Can You Brine Fish Overnight?
Yes, you can, but with a caveat. If you’re working with thicker cuts of fish like salmon or large fillets, overnight brining (6–8 hours) is often ideal. It allows the flavors to deeply penetrate the fish without turning it too salty. However, for thinner cuts, overnight brining might be overkill. Always adjust brine time based on the thickness and type of fish.
If you’re unsure, start with a shorter brine and increase the time for future batches. After all, it’s easier to re-brine than to undo over-brining!
How Does Brining Affect Fish Texture?
Brining works wonders for texture. It tenderizes the fish, making it juicy and succulent. The salt in the brine helps proteins retain moisture, so when the fish is smoked, it doesn’t dry out. That’s why brining is a game-changer, especially for leaner fish that are prone to becoming tough or chewy during smoking.
What Happens If You Skip Brining?
Skipping the brine isn’t the end of the world, but it does make a noticeable difference. Without brining, fish can dry out during smoking, and it won’t have that same depth of flavor. Think of brining as the foundation—it sets the stage for everything that follows. Without it, your fish might feel like it’s missing something, like a movie without its soundtrack.
How long can you leave fish in brine before smoking?
The brining time depends on the type of fish, the thickness of the fillet, and the brine’s salt concentration. Typically, you can brine fish for as short as 30 minutes or as long as 8 hours, depending on these factors.
Mastering Brining and Smoking for Delicious Fish
Brining fish before smoking is more than just a step in the process; it’s the heart of creating delicious smoked fish. By understanding how brining works, adjusting the process to fit your needs, and troubleshooting common problems, you’re setting yourself up for success. From choosing the right fish to perfecting your brine recipe, every decision you make adds to the final flavor and texture.
Understanding how long you can leave fish in brine before smoking is a key step to mastering this culinary technique. By brining fish for the right amount of time, you ensure that it absorbs the perfect balance of flavor while staying moist during the smoking process.

