Gluten-free baking can be challenging, but what is the key to gluten-free baking? The secret lies in understanding gluten’s role, choosing the right ingredients, and mastering techniques designed specifically for gluten-free recipes. Let’s break it down step by step so you can bake like a pro.
Understanding Gluten-Free Baking Basics

What Does Gluten Do in Baking?
If you’re asking, “What is the key to gluten-free baking?” you first need to know why gluten is so important in traditional baking. Gluten acts like glue, holding dough together and providing structure. Without it, baked goods can crumble or fall flat, which is why alternative solutions are essential for gluten-free success.
But in gluten-free baking? That glue is missing, and that’s where things get tricky. Without gluten, achieving the same structure, texture, and moisture requires some smart substitutes and adjustments.
Common Challenges in Gluten-Free Baking
Let’s be real—gluten-free baking can feel like a science experiment gone wrong. You might encounter problems like:
- Dry, crumbly textures: Gluten-free flours often lack the binding properties of wheat flour.
- Gummy or dense results: Overusing starches or liquid binders can weigh down baked goods.
- Off-putting flavors: Some gluten-free flours have strong, earthy tastes that aren’t always welcome in cookies or cakes.
Does this mean gluten-free baking is doomed to fail? Absolutely not! With a little know-how, you’ll soon be making treats that rival their gluten-filled counterparts.
“Gluten-free baking isn’t about replacing wheat—it’s about building something entirely new and delicious.”
For ideas to complement your gluten-free casseroles, check out these delicious chicken breakfast recipes to start your day.
Key Ingredients for Gluten-Free Baking Success
Gluten-Free Flours: Characteristics and Uses
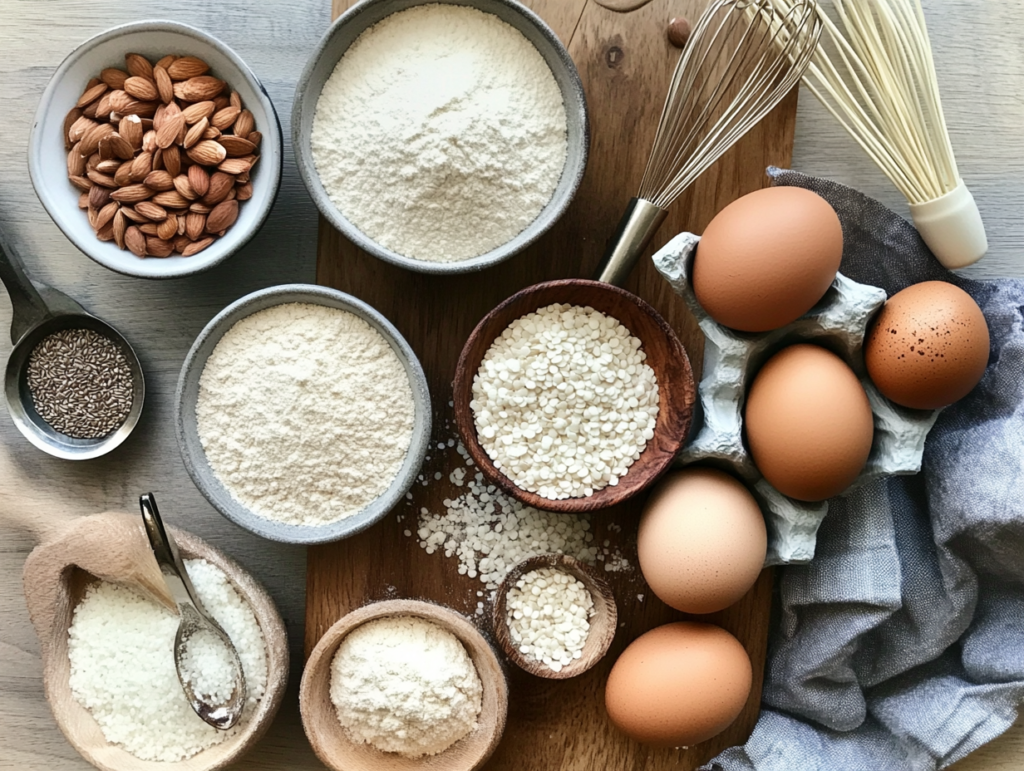
What is the key to gluten-free baking when it comes to ingredients? It’s all about selecting the right flour blends, binders, and starches to mimic gluten’s effects. Gluten-free baking requires a mix of science and creativity, but with the right tools, anyone can achieve bakery-quality results.
Here are some popular options and their characteristics:
- Almond flour: Adds moisture and a slightly nutty flavor—perfect for cookies and cakes.
- Rice flour: A neutral option, but can feel gritty if not finely ground.
- Tapioca starch: Brings elasticity and chewiness to bread and pastries.
- Coconut flour: Highly absorbent; a little goes a long way.
Wondering if you can skip the blend and just use one flour? Trust me, it’s not worth the risk. A mix of flours ensures balance—structure from rice flour, softness from starches, and flavor from nut-based flours.
The Role of Binders: Xanthan Gum and Psyllium Husk
Remember that “glue” we talked about earlier? This is where binders like xanthan gum and psyllium husk come in.
- Xanthan gum: A common additive that mimics the stickiness of gluten, ensuring your dough holds together.
- Psyllium husk: A natural fiber that adds elasticity and moisture, especially in bread recipes.
Pro tip: Don’t overdo it with these binders. Too much can make your baked goods gummy or unpleasantly chewy. Start with small amounts and adjust as needed.
“A little binder goes a long way—think of it as the magic thread sewing your ingredients into a masterpiece.”
Enhancing Texture with Starches
Starches like cornstarch, arrowroot, and tapioca are your best friends for creating that light, fluffy texture in gluten-free baking. They’re especially handy in recipes like muffins, cakes, and pie crusts. Just make sure you balance them with heartier flours for structure.
Mastering Techniques for Gluten-Free Baking

Adjusting Liquid Ratios for Better Results
One of the first things you’ll notice with gluten-free baking is that the dough or batter might feel wetter or stickier than usual. Don’t panic! Gluten-free flours absorb liquid differently, often requiring more water, milk, or eggs to achieve the desired consistency.
For example, coconut flour is incredibly thirsty and needs extra liquid, while almond flour retains moisture naturally. Always start by following a recipe and adjust slowly—adding a tablespoon of liquid at a time until it looks just right.
Mixing and Kneading: What’s Different?
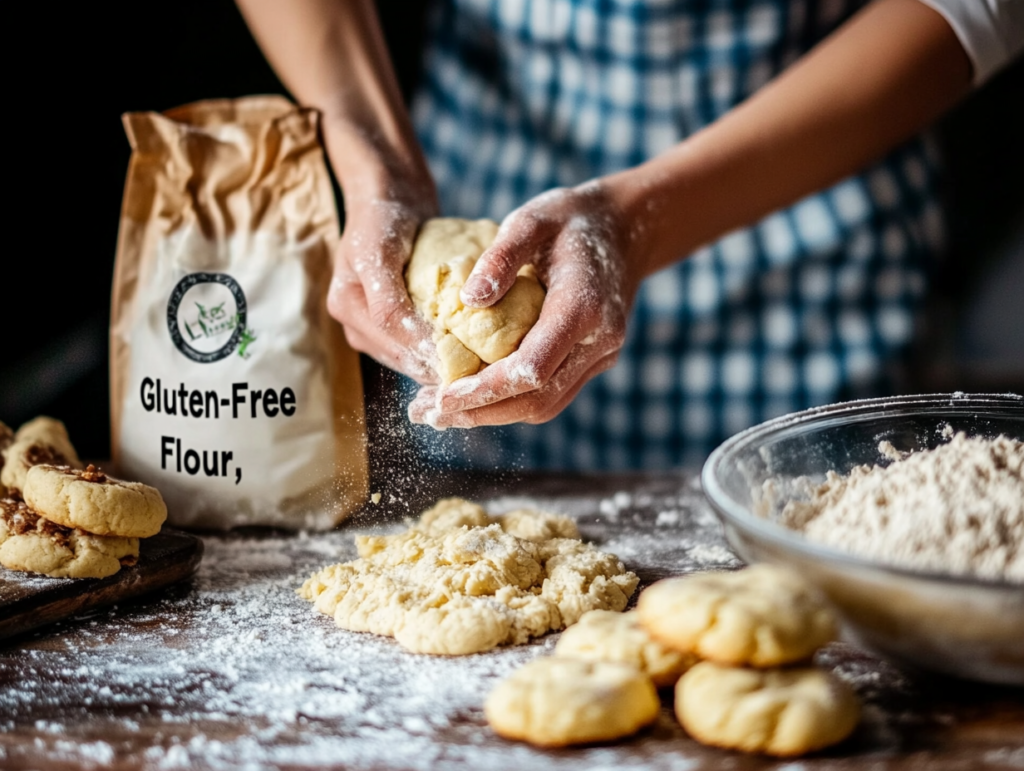
Here’s a fun fact: you don’t have to knead gluten-free dough as much as traditional dough. Since there’s no gluten to develop, overmixing can actually make your batter tough. Mix just until everything is combined, and you’re good to go.
And what about kneading bread? Go easy. The dough won’t stretch and pull the same way, so focus on shaping it rather than working it.
Achieving the Perfect Rise Without Gluten
Ah, the elusive rise—one of the biggest hurdles in gluten-free baking. Without gluten, doughs and batters don’t trap air as efficiently. This is where techniques like these shine:
- Use leaveners like baking powder, baking soda, and yeast generously.
- Let your dough rest longer: This allows alternative flours to hydrate fully.
- Steam for extra lift: For bread, placing a pan of hot water in the oven can create steam, which encourages a better rise.
Equipment and Tools for Gluten-Free Baking
Must-Have Tools for Beginners
You don’t need a fancy kitchen to start baking gluten-free, but having the right tools can make all the difference. Here are a few essentials to get you started:
- A digital kitchen scale: Measuring by weight is crucial for accuracy, especially when working with varied gluten-free flours.
- A stand mixer or hand mixer: Gluten-free doughs can be sticky and dense, so a reliable mixer saves time and effort.
- Silicone baking mats or parchment paper: These ensure your baked goods don’t stick, which can be an issue with gluten-free recipes.
If you’re making bread, consider investing in a dough scraper and a proofing basket for better shaping and rising. While not mandatory, these extras make the process smoother and more enjoyable.
Tips for Avoiding Cross-Contamination
Cross-contamination is a big concern if you or someone you’re baking for has celiac disease or severe gluten sensitivity. Even a speck of gluten from shared equipment can cause problems.
Here’s how to keep things gluten-free and safe:
- Use separate mixing bowls, spoons, and utensils for gluten-free baking.
- Invest in a dedicated gluten-free toaster if you’re making bread regularly.
- Clean your countertops, oven, and any shared equipment thoroughly before starting.
“In gluten-free baking, a clean kitchen isn’t just nice—it’s non-negotiable.”
Don’t forget to label your gluten-free ingredients and keep them stored away from regular flour or baking supplies to avoid accidental mix-ups.
Recipe Modifications for Gluten-Free Success
Adapting Traditional Recipes to Gluten-Free
When adapting recipes, many bakers wonder, “What is the key to gluten-free baking?” The answer is balance. Recipes often need extra moisture, stronger binders like xanthan gum, and a combination of flours to achieve the desired texture. Start small and experiment until you find the perfect blend.
- Replace wheat flour with a gluten-free flour blend. Most blends are designed to swap 1:1, but some recipes might need slight adjustments.
- Add a binder, like xanthan gum or psyllium husk, to mimic gluten’s elasticity.
- Increase the liquid slightly since gluten-free flours absorb more moisture.
For example, if you’re converting a pancake recipe, you might need to add an extra egg or a splash of milk to achieve the right batter consistency. It might take a couple of tries, but you’ll get there.
“Think of recipe adaptation as a puzzle—it’s all about finding the right pieces to fit together perfectly.”
Balancing Flavor Profiles in Gluten-Free Baking
Let’s face it: some gluten-free flours don’t taste great on their own. Sorghum flour might remind you of cardboard, and buckwheat flour can be overpowering. The trick? Blend flavors to create harmony.
- Sweet recipes: Almond, coconut, and tapioca flours work beautifully.
- Savory dishes: Use teff, buckwheat, or chickpea flour for a nutty, rich flavor.
- Neutral options: Rice and potato flours won’t dominate your dish but will add structure.
Adding vanilla extract, spices, or citrus zest can also mask strong flour flavors and make your baked goods taste amazing.
Troubleshooting Common Problems in Gluten-Free Baking
Why Do Gluten-Free Baked Goods Crumble?
If your cookies fall apart the moment you pick them up, you’re not alone. Crumbliness is a common problem because gluten-free baked goods lack the protein structure of traditional flour.
To fix this:
- Use more eggs or a liquid binder to provide additional structure.
- Add a small amount of xanthan gum or psyllium husk to help hold everything together.
- Let your baked goods cool completely before moving them—this helps them firm up.
How to Prevent Dense and Gummy Textures
Ever bitten into gluten-free bread only to feel like you’re chewing on a brick? This happens when there’s too much moisture or not enough leavening. Here’s how to fix it:
- Reduce the liquid slightly and increase the leavening agent (like baking powder or yeast).
- Don’t overmix the batter—this can trap air bubbles that collapse during baking.
- Try using lighter flours like tapioca or potato starch to balance heavier ones.
Tips for Better Browning and Crispness
Gluten-free baked goods often struggle to achieve that golden-brown color and crispy crust we all love. Why? Many gluten-free flours lack the natural sugars that caramelize during baking.
To enhance browning:
- Add a little sugar, honey, or maple syrup to your recipes—even for savory dishes.
- Brush bread or pastries with melted butter or egg wash before baking.
- Bake at a slightly higher temperature for a short time to encourage crispness.
The Science Behind Gluten-Free Baking Success
How Alternative Flours Interact Chemically
Gluten-free baking might feel like magic, but there’s science behind every bite. Each alternative flour has unique properties, and understanding how they work together can elevate your baked goods.
- Rice flour: Known for its gritty texture, it provides structure but lacks elasticity. Combining it with starches smooths things out.
- Coconut flour: This flour is a sponge, absorbing tons of liquid. It’s ideal for moist treats like muffins but must be balanced with eggs or another binder.
- Almond flour: Rich and dense, almond flour adds moisture and richness but doesn’t rise well on its own.
When mixed with starches like tapioca or potato starch, these flours create a blend that mimics gluten’s elasticity and tenderness. Think of it as building a team—each flour has its role, and when combined strategically, they work in harmony.
“Gluten-free baking isn’t about recreating gluten—it’s about understanding the chemistry of flours to craft something equally delightful.”
Why Time and Temperature Matter More Without Gluten
Baking gluten-free requires precision, especially with timing and temperature. Because gluten-free flours hydrate differently, letting your batter or dough rest before baking allows the flours to absorb moisture fully. This reduces grittiness and improves texture.
Temperature also plays a crucial role:
- Too hot? Your baked goods may brown too quickly without cooking through.
- Too cool? They might dry out before reaching the right structure.
For bread, maintaining a humid environment (such as placing a pan of water in the oven) ensures a soft crust and better rise.
Gluten-Free Baking for Special Diets
Allergen-Free Baking Beyond Gluten
If you’re baking gluten-free, chances are you might also be catering to other dietary restrictions. Common allergens like dairy, eggs, and nuts often come into play. So, how can you bake without these staples?
- Dairy-free options: Use plant-based milks like almond, coconut, or oat milk. For butter, substitute with coconut oil or vegan spreads.
- Egg substitutes: Flaxseed meal mixed with water, applesauce, or aquafaba (the liquid from canned chickpeas) works wonders in many recipes.
- Nut-free flours: Replace almond flour with sunflower seed flour or a combination of oat and rice flours.
Remember, gluten-free baking is all about flexibility. Experimentation is your best friend!
Making Gluten-Free Vegan Baked Goods
Going gluten-free and vegan might sound like a tall order, but it’s totally doable with the right ingredients. Binders like psyllium husk, chia seeds, or flaxseed meal can replace both gluten and eggs. Add plant-based fats like coconut cream or avocado to keep things moist and rich.
For instance, you can create fluffy vegan, gluten-free pancakes by using oat flour, almond milk, and a flax egg. They’re just as satisfying as their gluten-filled counterparts!
Expert Tips and Tricks for Gluten-Free Baking
Storage and Freshness Tips
One downside of gluten-free baked goods is that they tend to dry out faster. But don’t worry—proper storage can extend their shelf life:
- Wrap tightly: Use plastic wrap or airtight containers to lock in moisture.
- Freeze leftovers: Gluten-free bread, muffins, or cookies freeze beautifully. Just thaw them at room temperature or reheat gently.
- Keep cool: Store baked goods in a cool, dry place to prevent them from going stale too quickly.
Secrets for Making Bakery-Quality Treats
Want your gluten-free baked goods to rival those of a fancy bakery? Here’s how:
- Invest in high-quality ingredients: Fresh flours and real vanilla extract make a big difference.
- Use professional techniques: For cakes, always cream butter and sugar properly to aerate the batter. For bread, proof your yeast until it’s frothy for a better rise.
- Practice patience: Let your baked goods cool completely before slicing. This ensures they hold their shape and texture.
“The best gluten-free bakers are part scientist, part artist, and 100% patient.”
Here’s a guide to baked chicken cutlet recipes that’s perfect for experimenting with flavors.
Inspiring Recipes to Get Started

Easy Gluten-Free Bread Recipes
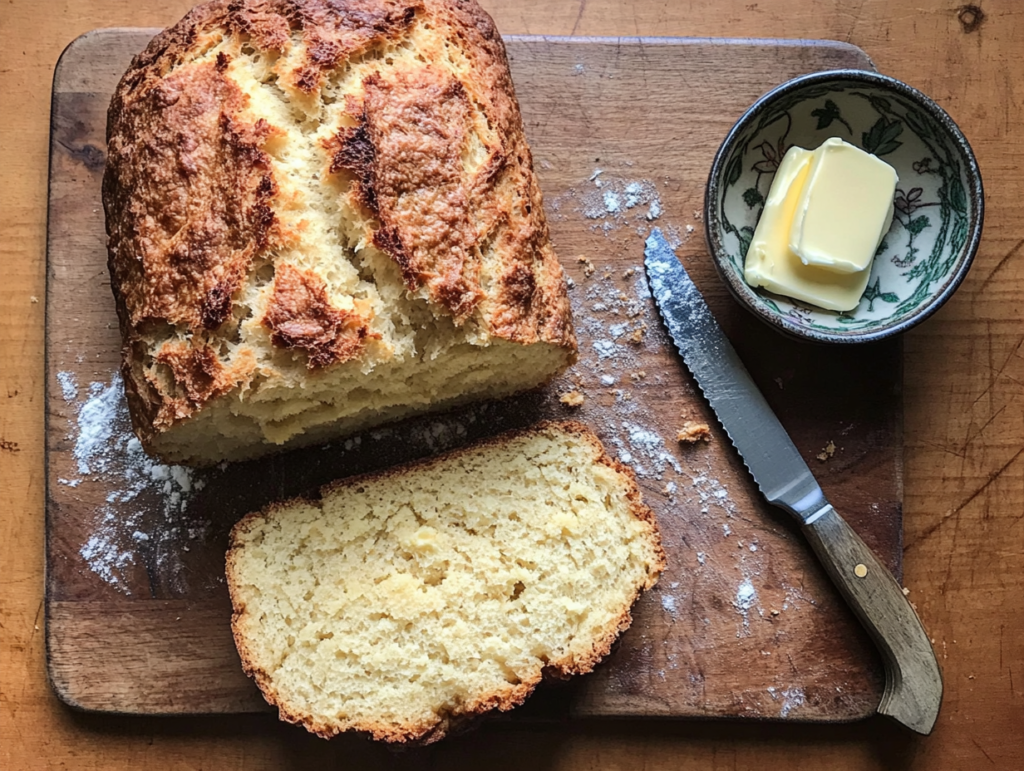
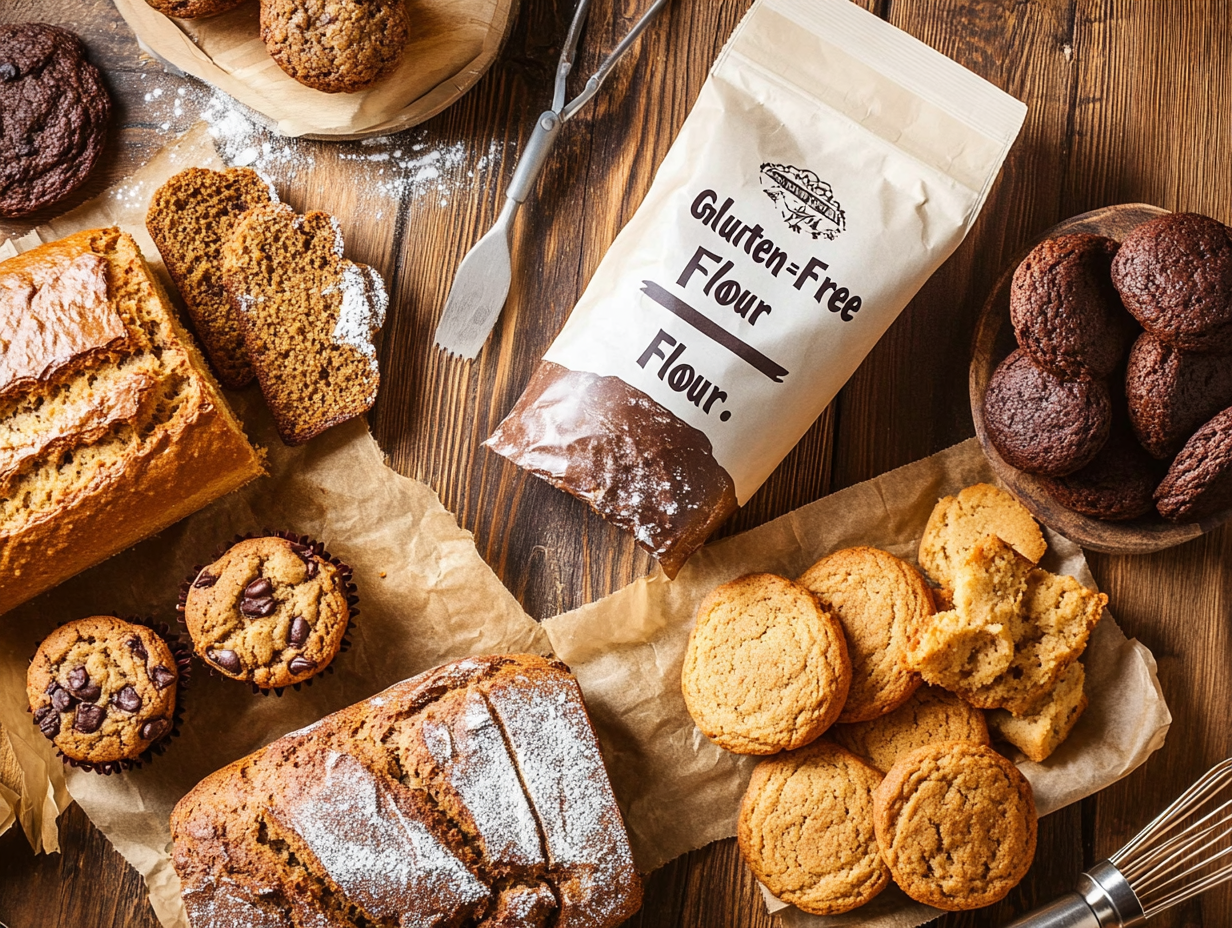
What is the key to gluten-free baking when you’re just starting? Practice! Try simple recipes like gluten-free bread, cookies, or muffins. With each attempt, you’ll learn more about what works and how to adapt recipes to suit your preferences. Baking is an art—embrace the process!
Pro tip: Let the dough rest for 30 minutes before baking to hydrate the flours and improve texture.
Gluten-Free Cookies Everyone Will Love
Who doesn’t love cookies? Gluten-free versions can be just as chewy and indulgent as traditional ones. Almond flour is a great base for chocolate chip cookies, offering a nutty flavor and tender crumb. Combine it with a touch of coconut flour to keep the cookies soft but structured.
For a holiday twist, try adding cinnamon, nutmeg, or dried cranberries.
Perfect Gluten-Free Cakes and Muffins
Moist cakes and fluffy muffins are within your reach! Use a blend of almond and coconut flours for richness, and don’t skimp on eggs or oil. These add the necessary moisture to prevent dryness.
For chocolate lovers, a gluten-free chocolate cake made with cocoa powder and a hint of espresso will be a crowd-pleaser. Want something lighter? Try lemon poppy seed muffins with a citrus glaze.
Unlocking the Secrets to Gluten-Free Baking
Recap of the Key Principles
Mastering gluten-free baking comes down to a few key principles:
- Understand the role of gluten and how to replicate it with alternative flours and binders.
- Use the right techniques, from adjusting liquid ratios to letting doughs rest.
- Troubleshoot problems with patience and experimentation.
With these tools in your baking arsenal, you’re ready to tackle any recipe—gluten-free or not!


1 thought on “What is the Key to Gluten-Free Baking?”