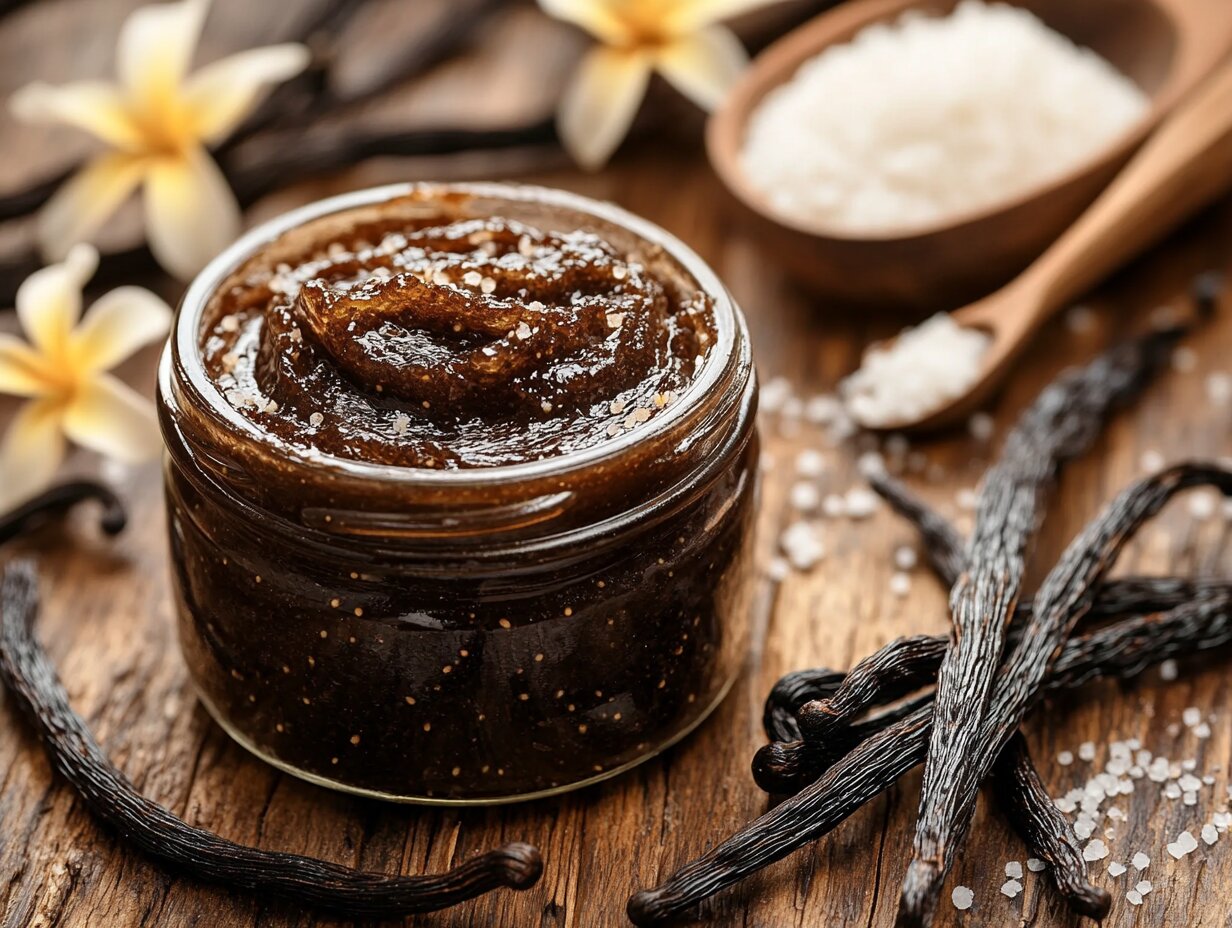
There’s something magical about the scent of vanilla swirling through your kitchen sweet, warm, and deeply nostalgic. Making your own vanilla paste recipe is like bottling that magic for rainy baking days and holiday cookie marathons. While store-bought options like vanilla bean paste from brands such as Vanilla Bean Kings or Gneiss Spice are convenient, nothing beats the flavor (or joy!) of stirring up your own at home.
Grandma Mary used to keep a little brown bottle of vanilla tucked in the back of her cupboard a treasure she’d only bring out for special cakes or her Sunday pudding. I remember watching the flecks of vanilla bean swirl into the batter and thinking it looked like fairy dust. Today, we’re bringing that magic into our own kitchens with a vanilla paste recipe that’s simple, luscious, and lasts a whole year on the shelf.
Why You’ll Love This Vanilla Paste Recipe
This homemade vanilla paste recipe is velvety, rich, and speckled with real vanilla seeds that bring both beauty and bold flavor to every spoonful. Thicker than extract, it has a hint of syrupy sweetness that adds elegance and visual appeal to your favorite desserts.
Ideal for baking, custards, or buttercream, this paste is made with high-quality vanilla beans and a smooth sugar base. Whether you’re replacing extract or simply looking for a more luxurious finish, this vanilla paste recipe offers a fragrant, long-lasting alternative that transforms every treat it touches.
Ingredients for Vanilla Paste Recipe
This DIY pantry staple comes together with just a handful of ingredients, but each one plays a crucial role. It’s amazing what you can create with a blender, a few quality vanilla beans, and a bit of kitchen alchemy. If you’re ready to craft a rich, long-lasting vanilla paste recipe, start with these basics:
What You’ll Need (Ingredients)
- Granulated sugar
- Light corn syrup
- Water
- Whole vanilla beans (Grade A preferred)
- Optional: glycerin or honey for alcohol-free preservation
Why These Ingredients Matter
Granulated sugar gives body and sweetness, while corn syrup adds a beautifully scoopable texture. The vanilla beans especially high-quality ones are the heart of the paste, delivering bold flavor and those signature flecks of real vanilla. If you’re skipping alcohol, glycerin or raw honey serve as natural preservatives and deepen the richness of your vanilla paste recipe.
Instructions for Making Vanilla Paste Recipe
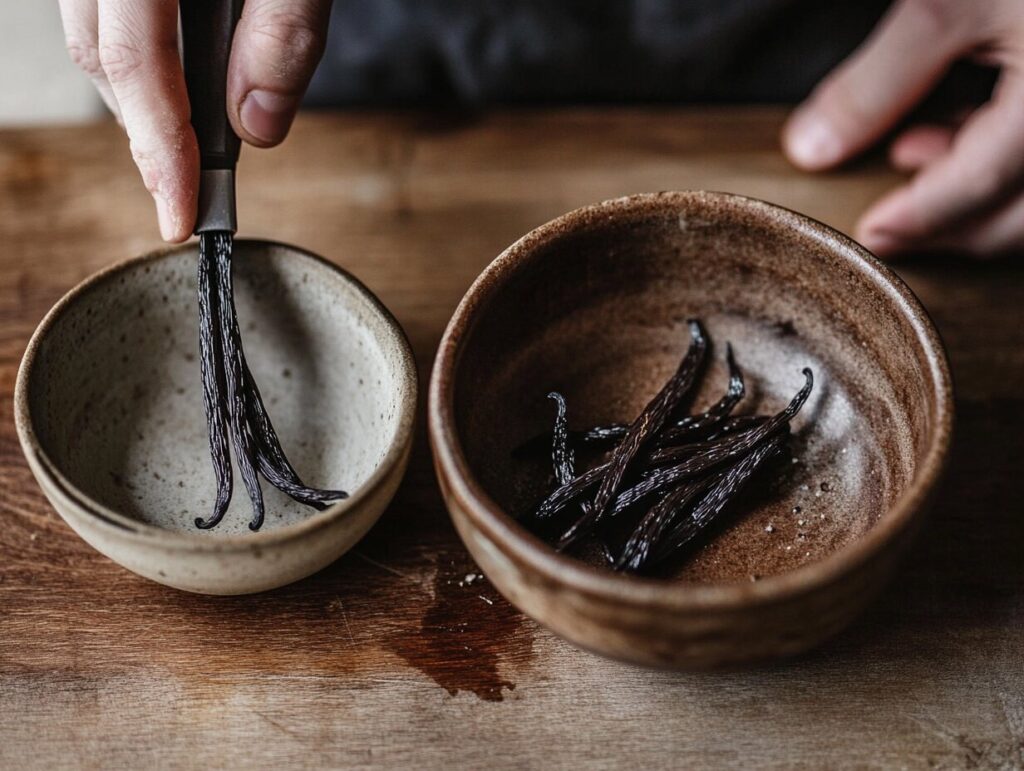
Making your own vanilla paste recipe might sound fancy, but it’s really just a matter of blending and bottling. You’ll be amazed at how quickly it comes together, and how incredible your kitchen smells during the process!
Step-by-Step Directions
Step 1:
In the cup of a high-speed blender, combine the granulated sugar, vodka (or a substitute if making it alcohol-free), light corn syrup, and water. If your blender only has a large pitcher, double the ingredients so the blades catch everything properly.
Hint: A high-speed blender like the Ninja Foodi with an extract function works wonderfully here!
Step 2:
Cut the vanilla beans into 2 to 3-inch pieces and add them to the blender. No need to scrape the seeds just toss everything in. The whole bean adds richness and those iconic flecks.
Step 3:
Blend on high for 2 to 3 minutes until the mixture is thick, glossy, and smooth, with visible specks of vanilla throughout.
Step 4:
Pour your fresh vanilla paste recipe into small jars or glass containers with tight lids. Store it at room temperature, away from sunlight. It will stay fragrant and usable for up to a year.
Tips for Making the Best Vanilla Paste
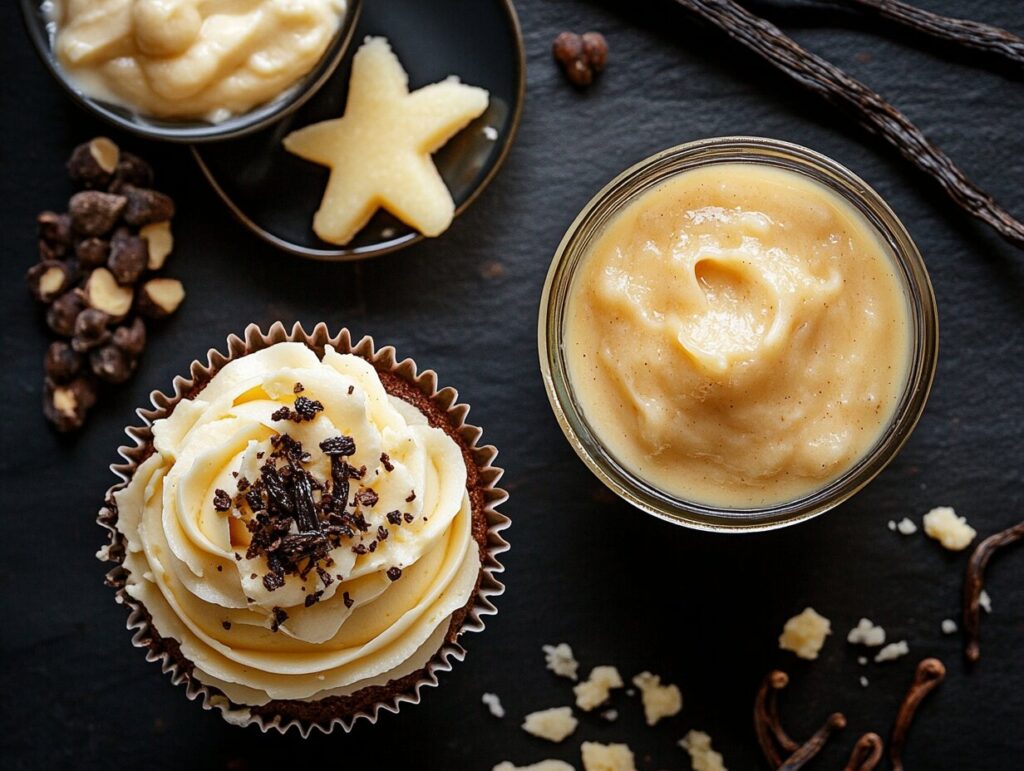
Homemade vanilla paste is as much about patience as it is about good ingredients. A few small tips can make a big difference in the flavor and texture of your final jar.
Stir before each use. The flecks may settle slightly over time. A quick stir brings the magic back to every spoonful.
Don’t rush the blend. Let the blender run a full 2–3 minutes to fully break down the beans and incorporate them. The paste should be smooth with visible flecks, not gritty.
Use fresh, plump vanilla beans. Dry or brittle beans won’t release as much flavor. I love using Vanilla King beans or Gneiss Spice vanilla splits both bring bold aroma and vibrant specks.
Let it rest before using. Just like Grandma Mary used to say, “Flavors need time to say hello to each other.” Resting the paste for 24 hours lets the vanilla infuse more deeply.
Try it in recipes like Baked Chicken Cutlets to add a subtle, aromatic sweetness to savory dishes. Alternatively,
Personal Anecdote
I still remember the day I learned vanilla didn’t come from a tiny brown bottle at the grocery store. I was about eight, and Grandma Mary had just received a small parcel wrapped in brown paper and string inside were six glossy, fragrant vanilla beans.
She laid them out like precious jewels on a linen towel, and I, being the curious helper, leaned in a little too close and sneezed right into the beans. A cloud of powdered sugar flew up from the bowl beside us, and suddenly we were both covered in a sweet, sticky dusting. Grandma just laughed, wiped my nose with her apron, and said, “Well, sugar, I guess now the beans know who’s boss.”
That day, we made a paste together with nothing more than a knife, a jar, and the warmth of our shared laughter. It didn’t last long, she added it to every pudding and pie for weeks. But what stuck with me most was her joy in using something so simple, so pure, and making it feel like gold.
Substitutions for Vanilla Paste Recipe
Whether you’re working with dietary restrictions, ingredient availability, or just personal preference, there are plenty of ways to customize this vanilla paste recipe without sacrificing its rich, aromatic essence.
Allergy-Friendly Tip:
Be mindful if gifting this! Always label clearly if you use corn-based ingredients or sugar alternatives.
Sugar Alternatives:
Want a refined sugar-free version? Use coconut sugar for a deeper, caramel-like flavor or date sugar for a natural, earthy note. Keep in mind, these can darken the paste color slightly.
Corn Syrup Substitute:
If you prefer to avoid corn syrup, try brown rice syrup, agave nectar, or maple syrup. These still provide the viscosity needed, though maple adds a bit of its own character.
Vanilla Bean Options:
While Vanilla King beans and Gneiss Spice splits are favorites, you can use Tahitian or Madagascar vanilla beans too. Just be sure they’re soft, oily, and full of seeds.
Water-Based Extract Base (Alcohol-Free):
Instead of vodka, use glycerin for a natural preservative. It’s a great choice if you want a thicker, extract-style paste that’s entirely alcohol-free.
Variations on Vanilla Paste Recipe
Once you’ve mastered the base, the real fun begins. This vanilla paste recipe is wonderfully adaptable, and just a few tweaks can infuse it with unique flair for special recipes or personal preferences.
- Spiced Vanilla Paste:
Add a pinch of cinnamon, cardamom, or clove before blending. The result is warmly spiced and lovely in fall baking or stirred into chai tea. - Citrus-Infused Vanilla Paste:
Add a few strips of lemon or orange zest to the blender for a bright, floral note perfect in sugar cookies or whipped cream. - Vanilla Bean & Honey Paste:
Swap out the corn syrup for raw honey to create a golden, soothing paste that pairs beautifully with tea, yogurt, or warm oatmeal. - Kid-Friendly Version:
Make a “sweet cream” vanilla paste by adding a drop of natural butter flavor (alcohol-free) for that comforting bakery taste kids love in pancakes and cupcakes. - Vanilla Puree Hybrid:
Blend your paste with a spoonful of vanilla puree for an extra-smooth, restaurant-style consistency especially great if you’re gifting it.
Equipment for Vanilla Paste Recipe
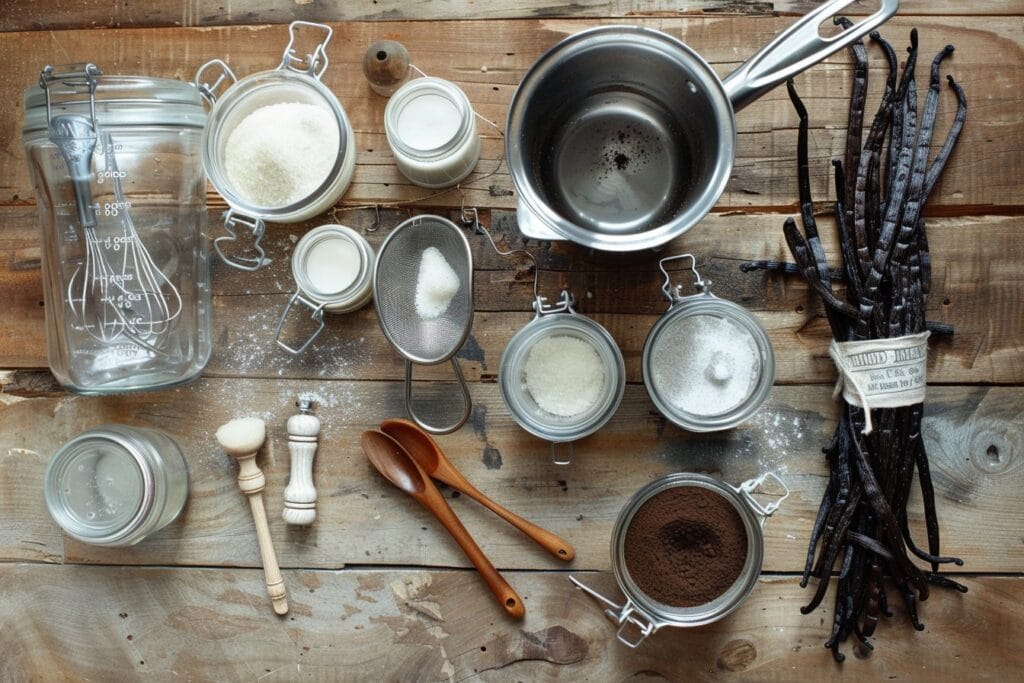
Making this vanilla paste recipe doesn’t require fancy gear, but a few reliable tools will make the process smoother, cleaner, and more enjoyable.
- High-Speed Blender:
Essential for breaking down the vanilla beans and achieving a smooth consistency. Blenders like the Ninja Foodi or Vitamix work beautifully especially models with an “extract” or “nut butter” function. - Blender Cup (Optional but Ideal):
A smaller blending cup helps the ingredients circulate better without needing to double the batch. It’s great for minimizing waste. - Small Saucepan (for warm water method):
If your sugar is stubborn or you’re using thick alternatives like honey or date syrup, gently warm the liquids first to help them combine. - Fine-Mesh Strainer (Optional):
If you prefer a smoother texture, you can strain the paste before jarring. This is purely a matter of taste those flecks are edible and flavorful! - Glass Jars with Tight Lids:
Small mason jars or spice jars are perfect for storage. Make sure they’re clean and completely dry before pouring in your paste.
No fancy gadgets? Grandma Mary would say, “Use what you have, stir with love, and it’ll turn out just fine.”
Storage Tips for Vanilla Paste Recipe
Homemade vanilla paste recipe creations are a true labor of love, and with proper storage, they’ll reward you with flavor for months to come.
Room Temperature Storage:
Keep your vanilla paste in a cool, dark cupboard, tightly sealed in glass jars. Stored away from heat and sunlight, it can last up to 6 months without alcohol, and up to 1 year if made with alcohol or glycerin as a preservative.
Refrigeration (Optional):
If your kitchen tends to run warm or humid, refrigeration is a safe option. Let the paste come to room temperature before using, as it may thicken slightly when chilled.
Freezing:
Not essential, but possible! For long-term storage, spoon your vanilla paste recipe into silicone trays or freezer-safe containers. Thaw fully and stir before using.
Label & Date:
Always label jars with the date prepared and note any key ingredients (like honey or alcohol-free). Grandma Mary’s trick? A strip of masking tape and a marker simple, clear, and effective.
Frequently Asked Questions About Vanilla Paste
Curious about vanilla paste? You’re not alone! Here are some common questions and answers to clear up any confusion.
Is Vanilla Paste Better Than Extract?
It depends on your needs. Vanilla paste offers a richer flavor and visual appeal thanks to the vanilla bean specks. Extract, on the other hand, is easier to measure and mix into liquids
Can I Substitute Vanilla Paste in Recipes?
Yes! As a general rule, you can use vanilla paste as a 1:1 substitute for vanilla extract or a scraped vanilla bean. Just be aware that it may slightly change the texture of very delicate recipes.
Is Homemade Vanilla Paste Cost-Effective?
Absolutely. While vanilla beans can be pricey, making your own paste allows you to stretch their use and avoid the added costs of store-bought options.
Why is my paste turning darker over time?
That’s completely natural! As the vanilla matures, it deepens in color. As long as it smells good and has no mold or off smell, it’s perfectly fine to use.
There’s something so grounding about making your own vanilla paste recipe measuring, blending, bottling, and then watching that rich, speckled sweetness become a staple in your kitchen. It’s not just about flavor, it’s about presence. Every spoonful carries intention, memory, and the quiet joy of doing something the old-fashioned way.
Whether you’re using Vanilla King beans, exploring a version with paste sugar, or pairing it with your favorite baked treats, this recipe brings a little old-world comfort to modern-day cooking.
👉 Stay connected and see more sweet recipes by visiting our Facebook page.
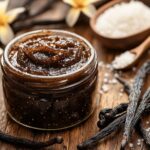
How to Make the Perfect Vanilla Paste Recipe
- Total Time: 10 minutes
- Yield: About 1 cup 1x
Description
This homemade vanilla paste recipe is rich, speckled with real vanilla bean, and perfect for baking or gifting. Made without alcohol, it’s smooth, sweet, and stores beautifully for up to 6 months.
Ingredients
1 cup granulated sugar
3 tablespoons light corn syrup
2 tablespoons water
2 ounces whole vanilla beans (Grade A preferred)
Optional: 1 tablespoon glycerin or honey (for shelf-stable, alcohol-free version)
Instructions
Combine the sugar, corn syrup, and water in the cup of a high-speed blender.
Cut vanilla beans into 2–3 inch pieces and add to the blender.
Blend on high speed for 2–3 minutes until smooth and speckled.
Pour into clean, airtight jars. Let rest 24 hours before first use.
Store in a cool, dark place for up to 6 months.
Notes
If using a large blender pitcher, double the ingredients for better blending.
For a smoother texture, strain the paste through a fine-mesh sieve.
A pinch of sea salt enhances flavor—just like Grandma Mary did!
- Prep Time: 10 minutes
- Cook Time: 0 minutes
- Category: Pantry Staples
- Method: Blended
- Cuisine: American
Nutrition
- Serving Size: 1 tablespoon
- Calories: 65
- Sugar: 13g
- Sodium: 1mg
- Fat: 0g
- Saturated Fat: 0g
- Unsaturated Fat: 0g
- Trans Fat: 0g
- Carbohydrates: 17g
- Fiber: 0g
- Protein: 0g
- Cholesterol: 0mg
Keywords: vanilla paste recipe, homemade vanilla bean paste, alcohol-free vanilla extract, DIY vanilla paste

